
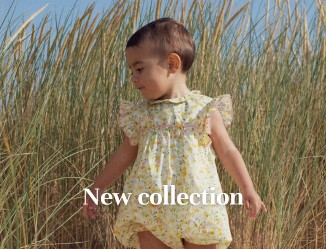

With Easter just around the corner, it's time to get the kids excited! It's the perfect time to organize fun and creative activities that will fill your children with wonder. From egg hunts to spring crafts, discover with us a selection of fun activities to make this an unforgettable holiday for the whole family.
Get ready to create magical memories and share moments of complicity with your little explorers. Follow us to find out how to make this Easter as entertaining as it is memorable for your children!
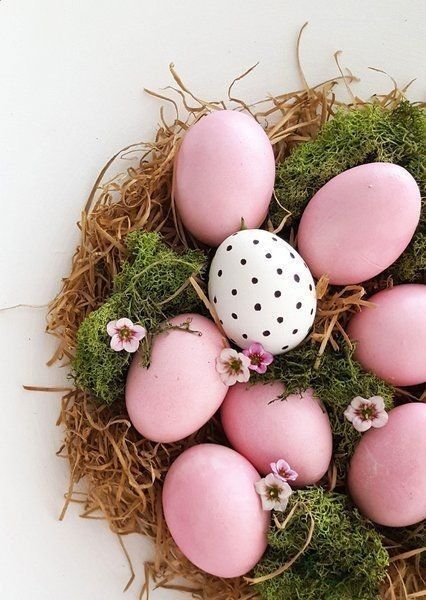
Decorating Easter eggs
Decorating Easter eggs is an iconic and fun activity that delights children of all ages. Turn ordinary eggs into colorful works of art with these simple and creative ideas!
Materials required:
- Hard-boiled eggs
- Acrylic or water-based paint
- Brushes of various sizes
- Felt-tip pens or permanent markers
- Stickers, glitter, ribbons and other optional decorations
- Tray or stand for drying eggs
Start by boiling the eggs and allowing them to cool completely before decorating. Make sure they're clean and dry.
Use acrylic or water-based paints to create patterns and designs on the eggs. Let your imagination run wild! Children can paint traditional Easter motifs such as bunnies, chicks and flowers, or simply let their creativity run wild by inventing their own designs.
Felt-tip pens or permanent markers are perfect for drawing fine, precise details on eggs. Kids can add bunny faces, geometric patterns, wavy lines, or write Easter messages. Just make sure the paint underneath is completely dry before you start drawing.
Once they've finished painting and drawing, children can add additional decorations to embellish their eggs. Use Easter stickers, glitter, ribbons, buttons, or any other decorative material you have on hand. Encourage them to experiment with different textures and materials to create unique and original eggs.
Place decorated eggs on a tray or stand to dry completely. Be sure to handle the eggs with care to avoid damaging them during the drying process.
Once the eggs are completely dry, they're ready to be displayed in a decorative Easter basket or used for a thrilling egg hunt. Decorating Easter eggs is not only a fun activity, it also creates lasting memories and beautiful centerpieces for celebrating this joyous spring season with family and friends.
Making Easter baskets
The tradition of Easter baskets is a charming way to add joy and color to this springtime holiday. For a personal and creative touch, why not make your own basket? Follow these simple steps to create a unique basket that will amaze young and old alike during the Easter egg hunt!

Materials required:
- Card stock or heavy cardboard
- Scissors
- Glue or double-sided tape
- Colored ribbons
- Decorative stickers
- Pencils, felt pens or paint (optional)
Start by cutting a piece of card or heavy cardboard into a rectangle. The size will depend on the size you want for your basket. Make sure the rectangle is large enough to hold eggs or treats.
Fold the rectangle in half lengthwise to form two sides of the basket. Make sure the folds are well marked.
From the folded edges, cut notches upwards at regular intervals, about 2 to 3 centimetres from the edge. These notches will form the sides of the basket.
Fold the notches inwards to form the sides of the basket. Use glue or double-sided tape to secure the sides together. Make sure the bottom of the basket is flat enough to stand upright.
Give free rein to your creativity by decorating the basket with colorful ribbons, decorative stickers, hand-drawn designs or paint. You can also add handles by attaching ribbons to the sides of the basket.
Your Easter basket is now ready to use! You can fill it with sweets, decorated eggs or small gifts for a personal touch during the egg hunt, or as a present for your loved ones. Have fun creating your basket and happy Easter!
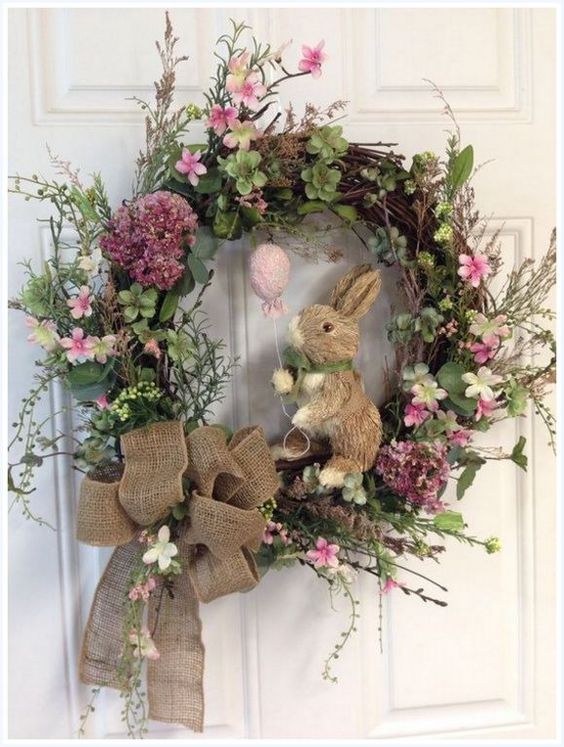
Easter wreath
An Easter wreath brings a touch of spring freshness to your decor. To create a unique and festive wreath, follow these simple steps to make your very own Easter masterpiece!
Materials required:
- Tree or bush branches (approx. 1 metre long)
- Flexible wire
- Colored ribbons
- Artificial or natural flowers (optional)
- Cutting tools (scissors or wire cutters)
Pick branches from trees or bushes, about 1 meter long. Make sure they're flexible enough to weave easily.
Take a branch and gently twist it into a circle. Tie the ends together with flexible wire to form the base of the wreath.
Take a second branch and start braiding it around the base of the wreath. Repeat this step with the other branches until the entire base is covered.
Once all the branches are braided, use the flexible wire to secure the branches together in several places around the wreath. This will strengthen the structure and ensure that the branches stay in place.
Add colorful ribbons by attaching them to the wreath with wire. You can also add artificial or natural flowers by inserting them between the branches.
Give free rein to your creativity by adding other decorative elements such as decorated Easter eggs, stuffed bunnies or small spring figurines.
Attach a sturdy ribbon to the back of the wreath so you can hang it on your front door or a wall.
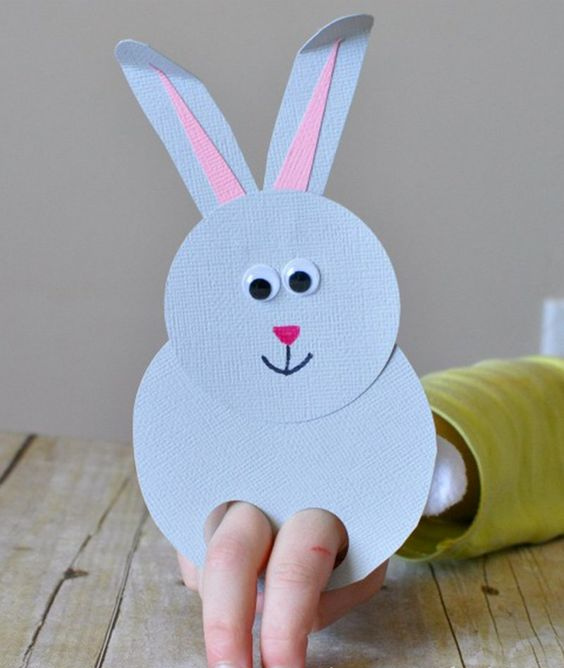
Easter puppet show
Organizing a puppet show is a fun and creative activity that stimulates children's imaginations. To celebrate Easter in a playful way, why not create a show featuring puppets representing bunnies, chicks and other Easter characters? Follow these steps to put on an unforgettable show!
Materials required:
- Puppets (store-bought or homemade)
- Backdrops (drawings, colored paper, cardboard, etc.)
- Script or story to tell
- Play area (table or flat surface)
- Auxiliary lighting (flashlights or desk lamps)
- Enthusiastic audience!
Select an age-appropriate Easter story for your audience. You can choose a classic Easter story, or create your own scenario featuring the adventures of bunnies, chicks and other Easter characters.
Make sure you have all the puppets you need to tell your story. If you don't have your own puppets, you can easily make your own out of socks, plastic cups, papier-mâché or other available materials.
Design the scenery to suit the story you're going to tell. You can draw and cut out elements such as trees, flowers, houses or Easter baskets. Arrange the backdrops on a flat surface behind which the puppets will move.
Familiarize yourself with the script or story you're going to tell. Practice dialogues and puppet movements to make the show as fluid and lively as possible.
Set up a table or flat surface to serve as a stage. Arrange the sets and puppets on the table so that everything is easily accessible during the show.